Soaking a used stamp off its paper is one of the first skills every collector learns, and one of the easiest to get wrong. The idea is simple: lukewarm water softens the gum, the paper floats free, and you lift out a clean stamp. In practice, beginners tear paper fibres, bleach out cancellations and crease otherwise perfect items within their first few batches. Nearly all of that damage comes from a handful of predictable habits, and every one of them is easy to correct. The trick is to slow down, sort first, and treat water as a tool rather than a default.
Before anything else: not every stamp wants a bath. Ask what you are actually trying to achieve, and whether soaking is the only way to get there. A common stamp on a torn piece may be a perfect soaking candidate. A scarce stamp on a complete cover is not.
Most stamps issued from the 1990s onward use pressure-sensitive adhesive rather than traditional gum. Water does not release it cleanly. The stamp either stays stuck to the paper, tears along an edge, or comes away with a tacky back that never dries properly. Leave these on paper, trim the backing close with scissors, and store them that way. If you genuinely need one off its paper, that is a job for careful dry removal and patience, not a bowl of water. Modern self-adhesive definitives from many countries fall into this group, and they are among the most common stamps beginners try to soak by mistake.
Some stamps are printed on chalk-surfaced paper or carry metallic, embossed or thermographic ink. Water can dull the coating, lift the ink, or leave a cloudy patch that no amount of drying will fix. Many older surface-printed stamps and plenty of high-value issues fall into this group. Certain commemoratives with gold or silver ink are especially risky. If you are unsure, test a low-value duplicate first, and even then inspect it under good light before trusting the result.
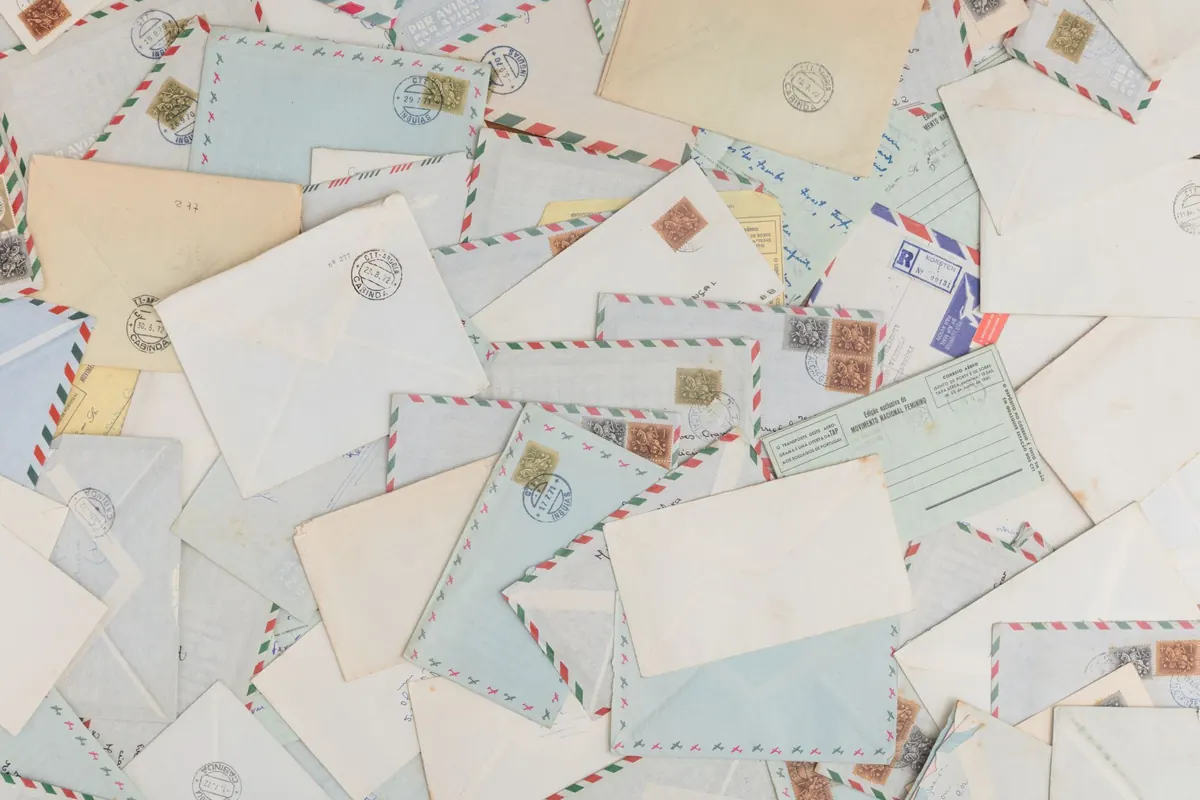
Coloured envelopes, airmail borders and tinted papers bleed. Red is the worst offender, but deep blues and greens can be just as destructive. A bright red Christmas envelope or a coloured greeting-card cover can turn the water pink within seconds, and every pale stamp in the tray may pick up a shadow. If a stamp sits on coloured paper, trim around it, consider dry removal, or simply accept it as it is.
A stamp with a clear dated postmark on a complete cover is often worth more than the same stamp off paper. Soaking destroys that information for good. If the postmark is a first-day cancel, a slogan, a scarce town mark, a railway cancel or a paquebot strike, keep the whole envelope. The stamp is no longer just a stamp; it is a historical document, and water is irreversible.
Use lukewarm water, comfortable to the touch rather than hot. Hot water softens paper fibres, encourages ink to run and makes damage happen faster. Cold water works too, but it slows everything down and tempts you into pulling stamps apart before they are ready.
Use a shallow tray with a couple of centimetres of water rather than a deep metal bowl. A white tray is ideal because it lets you see floating paper fibres, ink clouds and small fragments. Stamps should float freely and separate; place them face up and never stack them. Change the water as soon as it looks cloudy or tinted, because one careless red stamp can leave a pink shadow on everything else in the bath. If you are soaking anything valuable, distilled water removes any risk of chlorine or mineral deposits affecting the paper over time.
Do not add soap, washing-up liquid, salt, vinegar or fabric softener. These are old household remedies, not stamp-collecting tools. They leave residues, alter the paper and can stain or weaken the very item you are trying to preserve. Plain water is enough.
The first is pulling too early. You see the paper beginning to separate at a corner and give it a tug. The gum is still holding in the middle, and the result is a thinned patch, a tear, or a stamp with half its backing still attached. Leave it alone. Properly soaked stamps slide off by themselves.
If you have to pull, it is not ready. The stamp should slide free on its own.
The second is leaving stamps in the water and forgetting them. An hour or two is usually plenty for ordinary gum. Very long soaks waterlog the paper, soften the surface and let cancellations fade or spread. Set a timer, check the tray every twenty minutes or so, and lift each stamp out the moment it slides free without resistance. Never leave a batch soaking overnight.
Lift stamps with tongs rather than fingers. Skin oils transfer to paper and are difficult to remove. Grip by the edges; if you must use bare hands, wet them first and touch only the perforations. A pair of flat-tipped stamp tongs is one of the cheapest pieces of equipment that will save you real money over time.
Most soaking disasters are really sorting failures. Five minutes of triage saves a lot of regret.
Work in small batches. Twenty stamps in a tray you can actually watch beat a hundred you cannot. If a batch contains one risky item, soak it alone. That way, if the ink runs or the paper cockles, you know exactly which stamp caused the problem.
Wet paper is fragile and impressionable, so the drying stage decides how your stamps will look for decades. A stamp pulled from the bath and dumped onto a stack of paper towels can curl, cockle, or pick up lint and ink. Prepare your drying area before you start soaking, not after the first stamp is already wet.
Lift each stamp with tongs, let the excess water drip back into the tray, and place it face down on clean blotting paper or in a stamp drying book. Do not rub the surface. Do not stack wet stamps. Do not press them hard while they are still damp, because the fibres are soft and can be crushed into a permanent crease. If you use paper towels, choose plain white, unscented ones and change them often; printed patterns can offset onto damp paper.
Keep the drying area out of direct sunlight and away from radiators, hair dryers and ovens. Heat makes paper curl and can damage ink. Let the stamps air dry slowly. Once they are completely dry, if any have curled, press them between clean stiff cards under a flat weight for a day or two. Never iron a stamp, and never microwave one to speed things up.
Even careful collectors have mishaps. If a stamp tears, set it aside and let it dry flat. Do not reach for tape. If a stamp is still stuck after a reasonable soak, put it back in the water and wait longer; if it still will not release, dry it and leave it on the piece. If ink starts to run, remove the stamp immediately, change the water, and dry it face down on clean blotting paper.
If a stamp has thinned or lost a corner, be honest about the fault and store it as a space filler. Repairs with glue, tape or colouring usually make a stamp worth less, not more. For anything valuable, stop and ask an experienced collector or dealer before you soak. The cost of advice is almost always lower than the cost of damage.
The safest stamp is the one you never wet. Soak common used stamps when you are confident about the paper, the ink and the adhesive. Leave self-adhesives, coloured paper, mint stamps, scarce postmarks and anything valuable on cover exactly as they are. With a little patience and a shallow tray of lukewarm water, you can rescue plenty of ordinary stamps without turning a small mistake into permanent damage.
Photo: Tolga deniz Aran / Pexels