A watermark is one of the quietest things on a stamp: invisible until you know how to look, and sometimes the difference between a common copy and a catalogue number worth noting. The trouble is that many traditional ways of finding one, especially soaking a stamp in fluid, can leave a mark of their own. The good news is that you rarely need them. With a lamp, a black tray and a little patience, you can read most watermarks and leave the stamp exactly as you found it.
Watermarks are made during paper manufacture, not printed on afterwards. A raised design on the mould or dandy roll presses into the wet pulp, so the fibres sit slightly thinner in those places. When the paper dries, the pattern stays. Hold it to the light and those thinner lines let more light pass through — which is why watermarks appear as pale shapes in transmitted light, and as faint lines when viewed against the paper's surface.
They take many forms: single letters, crowns, stars, script monograms, chains, and the laid lines running through some early papers. Some stamps have no watermark at all, and "unwatermarked" is a legitimate catalogue listing rather than a sign that you have missed something.
Orientation matters. A watermark can sit upright, sideways, inverted or reversed relative to the design, and catalogue values often differ between them. Note the orientation, not just the presence.
Transmitted light is free, instant and completely harmless. Hold the stamp by its edges — clean, dry fingers or stamp tongs — and raise it against a bright, even light source: a window on an overcast day, a lamp with the shade removed, or a phone torch held a few inches behind the stamp. Look at the paper from the front, and turn off the room light if you can. A darkened room makes faint watermarks far easier to see.
Scan slowly. Watermarks rarely announce themselves; they show up as a slight difference in brightness as you move the stamp. Rotate it a quarter turn at a time and check again, because a sideways watermark can look like nothing at all until you change the angle.
This method has limits. Thick or heavily toned paper, dark stamps, and covers or pieces will hide a watermark almost completely. So will the plastic mounts in an album, so take the stamp out of the mount first. For anything stubborn, move on to the tray.
A watermark tray is simply a shallow dish made of glossy black plastic or glass. If you do not own one, a black ceramic saucer or a piece of glossy black card works almost as well. The principle is contrast: the black background removes the glare that normally hides the pattern.
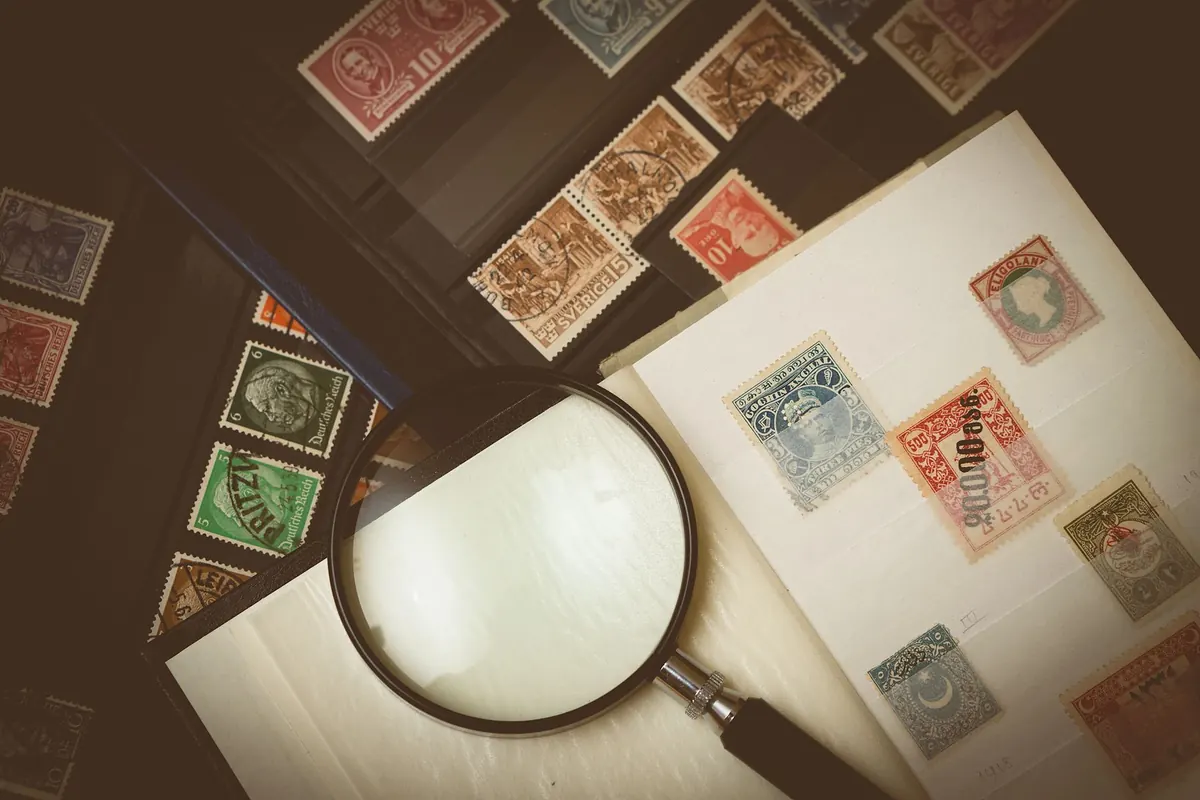
Lay the stamp face down in the tray. Bring a lamp close and tilt the tray until light rakes across the back of the paper at a low angle. The watermark will usually appear as a faintly darker shape against the paper, though the effect shifts as you tilt — keep adjusting until the lines resolve. A small magnifier helps with fine monograms.
The tray is dry, so there is nothing to stain or soften. It is the best everyday method for used stamps, and for mint stamps where you want to leave the gum untouched. Do not press the stamp down or rub it against the surface; let it sit.
Watermark fluid makes paper briefly translucent, and the watermark jumps out. It is genuinely useful for stubborn cases. It is also the step where beginners cause damage, so slow down.
One or two drops in a clean black tray are enough; you are not soaking the stamp. Lay the stamp face down in the fluid, give it a moment, and look. Lift it out with tongs and let it air-dry on a clean surface. It evaporates quickly and leaves nothing behind on sound paper.
Work in a well-ventilated room, away from any flame or heat source, and follow the manufacturer's label. Keep the bottle closed, keep it off your skin and eyes, and keep it out of reach of children. If you are unsure about a stamp, practise on a cheap duplicate first.
Never put fluid on a mint stamp with intact gum — the gum is part of the value, and fluid can disturb it. Avoid fluid on covers, on stamps on piece, and on anything with an embossed or coated surface, chalky paper, or a modern self-adhesive. Some older inks and cancellations soften or run when they meet solvent. If a stamp has any of these features, stick to light and the tray, and accept that the watermark may stay hidden.
Once you can see the watermark, identify it before you move on. Compare it with the small line drawings in a general catalogue, which are printed beside the stamp's entry. Check the orientation too: a watermark lying sideways or upside down is a separate listing in many cases, and "reversed" can matter as well.
Note whether the stamp has no watermark at all. Some issues were printed on both watermarked and plain paper, and the difference changes how you sort them. Record the result in pencil on a stock card or in your inventory rather than on the stamp itself, and never apply a sticker or tape.
If two stamps look identical but only one shows a mark, clean your tools and check again before deciding. A faint thumbprint or a thin spot can look convincing under the wrong light.
Work in this order and you will rarely need to reach for anything risky. Bright light first, with the stamp out of its mount. Then the black tray, tilted under a lamp. Only if both fail — and only on a stamp you are willing to risk — a drop or two of watermark fluid.
Keep the session short, keep the surface clean, and put each stamp away as soon as you have answered the question. Watermarks reward patience far more than force, and the stamps you handle carefully today will still be worth examining tomorrow.
Photo: Pixabay / Pexels